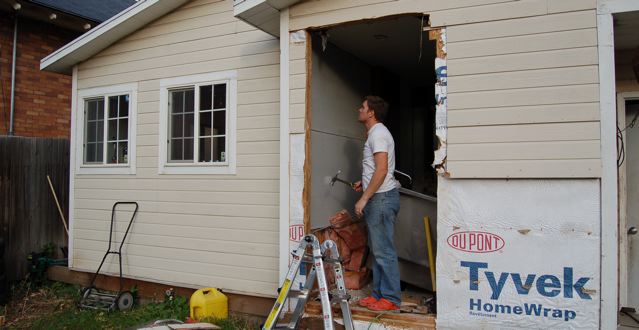
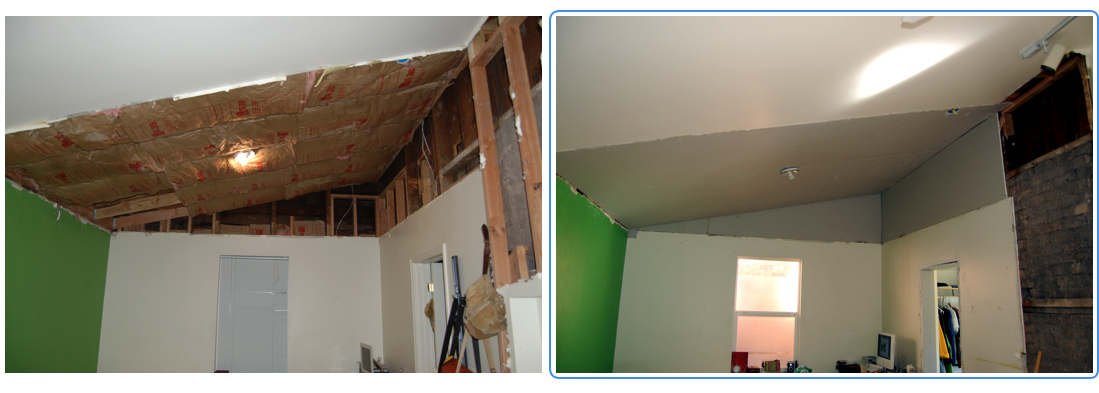
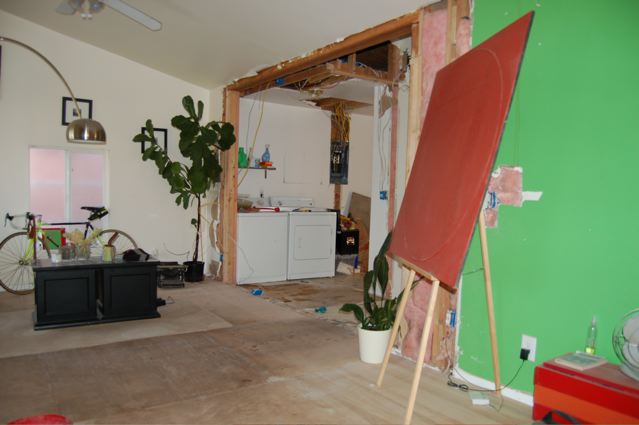
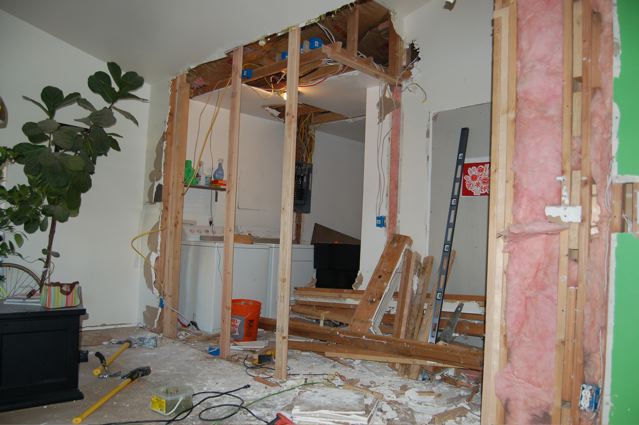
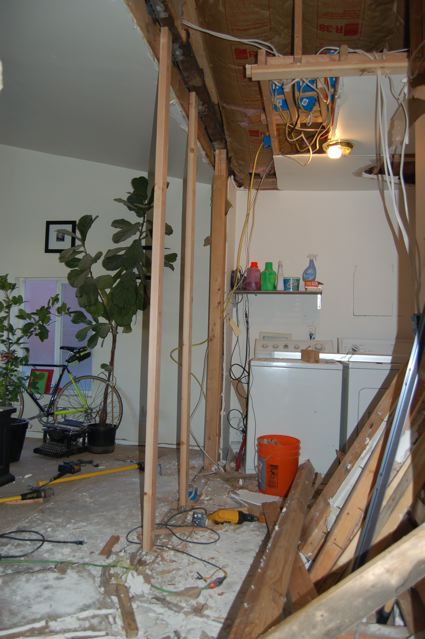
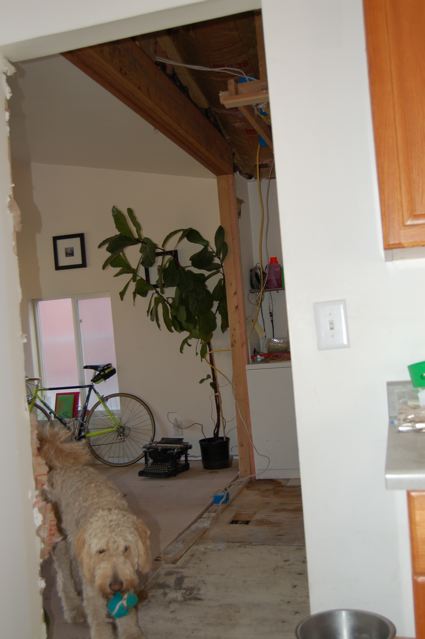
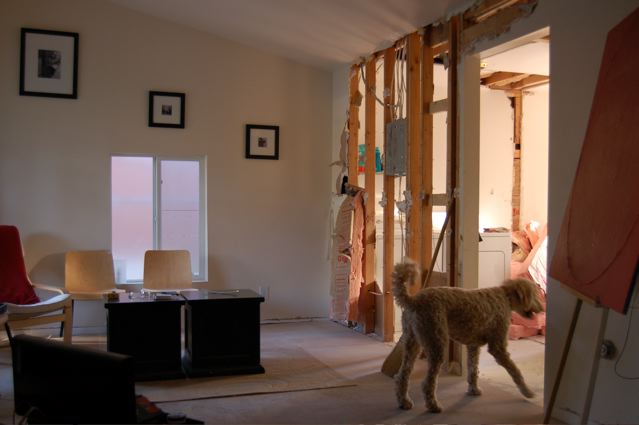
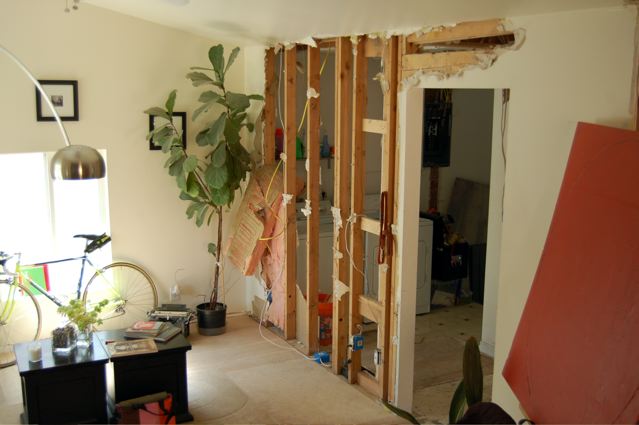
Let me just say, yesterday was a good day. The stars aligned over our little 700 square foot house, and the results were great. Not only did we finally get our drawings completed and stamped by the architect and engineer, we were also able to get out building permit! It was the culmination of an entire summers work coming together in one $1,200 dollar bang. That is the cost of a building permit on a addition valued at $48,000. Note to self, additions are not affordable. The thing that kills me is how much money you have to spend before you can even get your loan. You've got architectural fees which are a couple grand, engineer fees, around a grand, building permit, at least a grand, inspection is a couple hundred. You could easily spend $5,000 out of pocket before the bank will even consider a loan.
Speaking of loans, before I can get ours, I need to bid out the entire project. Since I will be acting as general contractor, I am looking for some good subs. Anyone know of any local? In particular I am looking for a good concrete guy, roofer, drywall and roofer. Any suggestions will be welcome. As soon as I can get all my written bids together, I can get my loan, and break ground. It looks like we might even get it all done this year if we hurry.
Comments? Post them here in the forums.
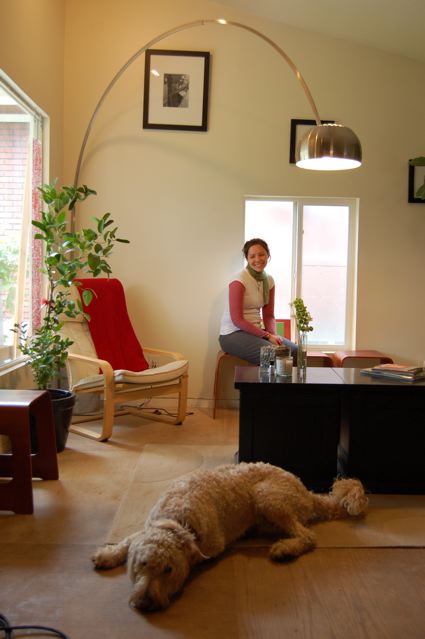
 Yea! It's been top secret until now, but today we are breaking the great news to all our families that we are pregnant. Thirteen weeks four days pregnant to be exact. As you can imagine we are both elated, and slowly counting the days until the little fellows grand entrance into this world. That means that there is sure to be some great baby content coming here on GRM. It also means that the pressure is on to get our house finished. I think we should have no problem getting all our ducks in a line in the next 185 days.