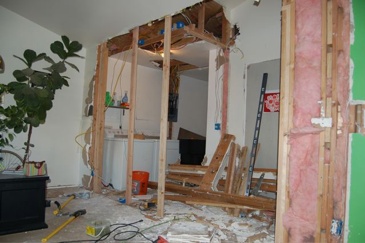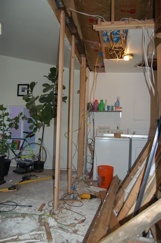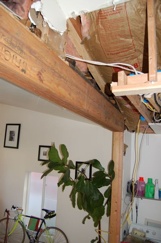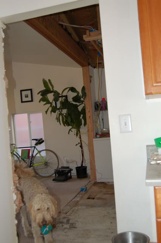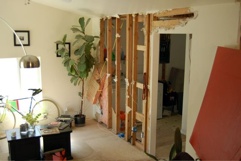
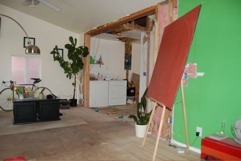
 Last week I posted on how I moved the breaker panel so that I could tear down the last wall. Well this Monday, I finally had a chance to get to it. This was probably some of the scariest demo I have done on this house. The wall was a load bearing wall, and a fairly complicated one too. It supported the original roof of the house (a shed roof which has more recently been buried under your standard double pitch roof) a ledger that the ceiling beams hang off of in the living room, and the ceiling in the laundry room. I managed to carefully brace every couple of feet as I ripped down the old wall. When I got the whole wall down, all I had to do was slip in the new beam that spans the distance, and remove the temporary bracing. About that beam.
I was nervous before I started about what to use, so I went to the local home depot and asked them. They assured me that you should never mess with a structural wall without consulting a structural engineer first. Not what I wanted to hear. The good news is that they referred me to a local structural engineer that gave free consults over the phone. I called the guy up, and he was super nice. I gave him the specs of the house and all the span lengths etc. He recommended using three 1 3/4" x 9" microlam beams (also known as LVL's) nailed and glued together. Easy enough. It came to about $130 for the three of them. Well worth it to know that our house isn't going to fall down next time it snows.
During and after pics after the jump.

