

It's been a great adventure, but after three and a half years I'm forced to sell my Mid Century Modern home in Olympus Cove. I've absolutely loved living here, the neighborhood is absolutely phenomenal and the home has so much potential. The good news is; #1. Someone is going to get an amazing deal on this house. #2. I'm sure I'll get myself into another affordable modern adventure to blog about.
The details:
- 4206 Fortuna Way SLC
- Asking Price $290,000
- Built in 1955
- .18 Acre Lot
- 1980 Sq Feet
- 4 Bedrooms
- 2 Bathrooms
- 2 Car Garage
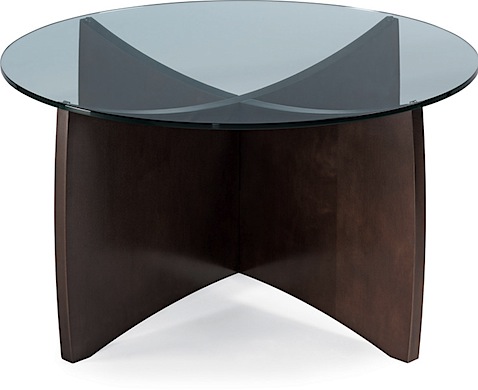
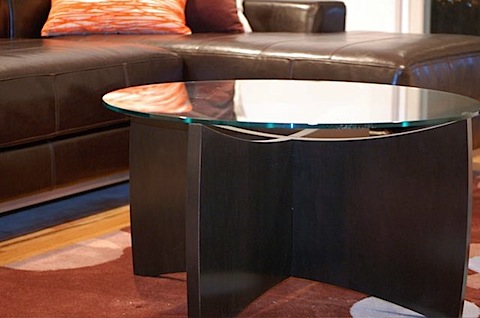
- Amazing Kitchen
- Amazing views
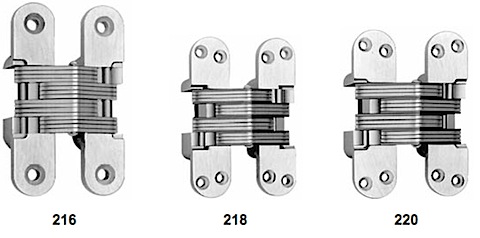
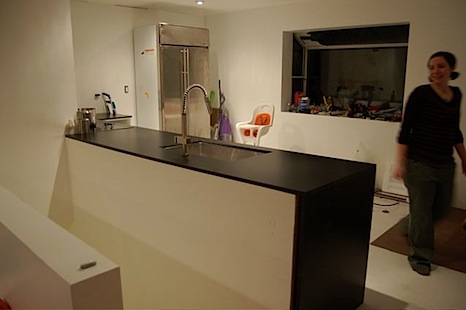
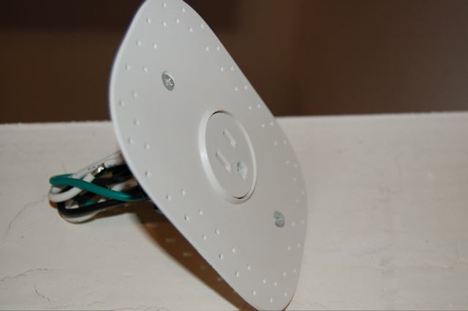
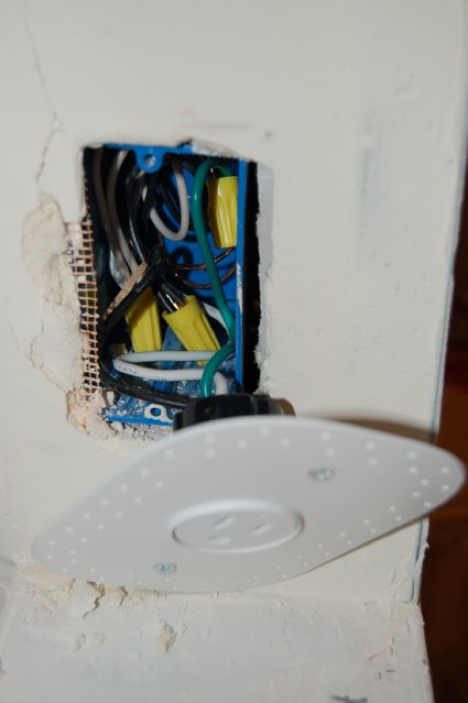
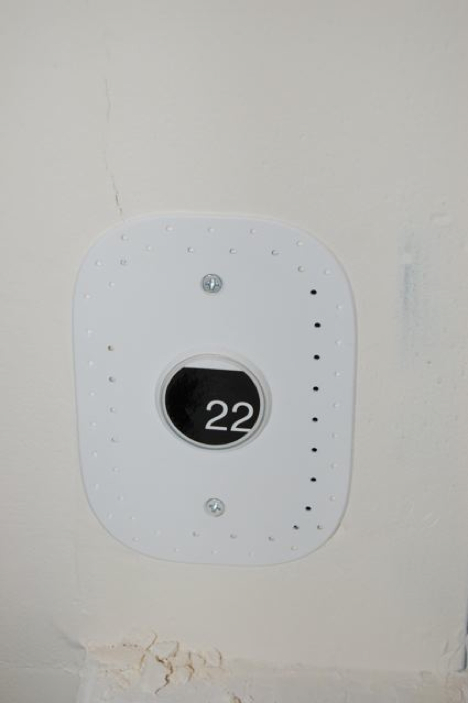
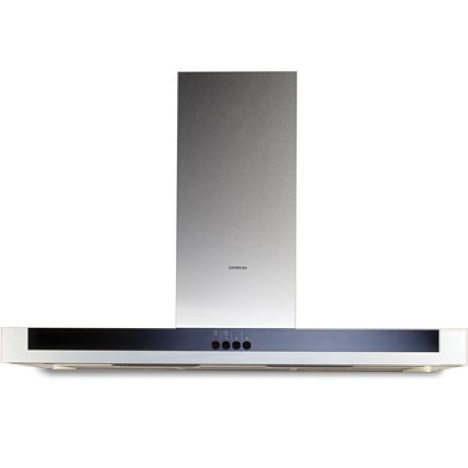
Since I bought the home 3 years ago, I completely refinished all the hardwood floors upstairs, and repainted everything bright white. I had a brand new electrical service to the house installed, and two new electrical panels inside. All new can lights were installed in the living room and kitchen. Speaking of kitchens, I completely gutted the kitchen, installed all new electrical and plumbing, new subfloor and white rubber floor tiles. New white Ikea ABSTRAKT cabinetry with black Trespa countertops and a zero radius stainless steel sink . New Gaggenau induction cooktop, integrated Bosch dishwasher and Siemens Avant Garde hood. There is also the double viking ovens I scored off of Craigslist and the GE Monogram refrigerator. Ohh, and the fantastic Bocci 22 electrical outlets all over the kitchen as well. Downstairs my son's room was completely redone. I framed out all the walls and added additional insulation, brand new drywall with a floating detail to eliminate baseboards. A fantastic mural of "Where the Wild Things Are" that took my good friend Tony almost 60 hours to complete (video here). The room got all new can lighting with a couple spots on a dimmer for the mural, new Flor carpet tiles, and a new solid core door with SOSS hinges and a nice reveal instead of door molding. I removed the ugly exterior siding, and took it back to it's old glory of grey Atlas bricks. To keep it cool in the summer and warm in the winter a brand new hight efficiency furnace was added, as well as new central AC after I decided the Modern Fan Co. fans weren't going to cut it. To keep all that heat and cold in I had 8" of extra insulation blown into the attic. Needless to say, a lot has been done to the home. I have easily put $20,000 of upgrades into and if I wasn't getting divorced I would easily stay here for another 20 years. My loss your gain. It's priced to move quick, but I need a full price offer, so tell your friends and neighbors and lets get this thing gone.
If you are interested in seeing the home because you are interested in possibly buying, get a hold of my amazing Realtor Geoff Tice 801-971-1311.
If you just want to look at it and shoot the breeze with me, leave a comment below and I'll get back to you. ( I love visitors! )
If you only like looking at pretty pictures on the internet, check out 4206Fortuna for some pictures I snapped of it last week, or Obeo for a virtual tour, or the official MLS listing.
Thanks everyone!
 Long time readers may remember how I started the blog. My wife at the time and I had just bought a 700 square foot home in Salt Lake, and we were determined to ad a 600 square foot modern addition on a shoestring budget. (If you missed the story the first time, it starts around here..) It was a lot of hard work, but it was literally one of the best experiences of my life. In fact I'm ruined now because all I want to do is design and build houses, more on that later.
 Remember last year, when I started the


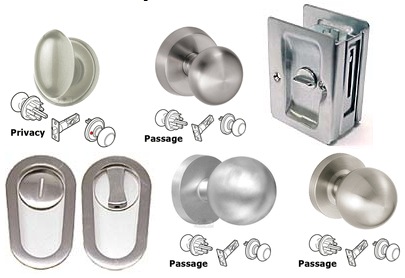

 For the room that we are remodeling downstairs I want to do a nice flush vertical grain fir door. Unfortunately that is proving more difficult than I thought. No one in town seems to stock them and everyone wants to custom order them in for me with a lead time of 6 weeks. Since we really want to have them here when we do the door jambs before the drywall that doesn't work for us. I have found one place locally,
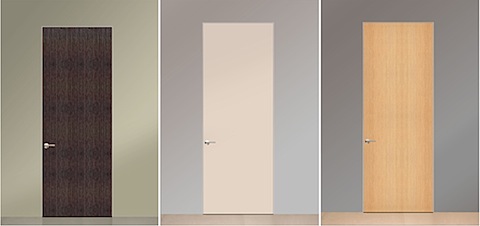
 I have been scouring Craigslist and other local online classifieds for a long time now to see if I could get any deals on kitchen appliances. As luck would have it, we were able to find what I think have been some pretty great deals. Most recently we found a built in
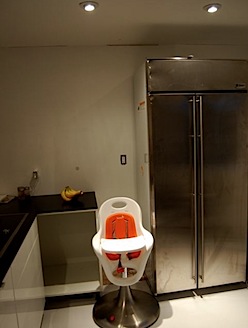
 Over the weekend we were able to get the rest of the painting done, and install our white rubber flooring. We purchased our flooring from
  The kid approves.
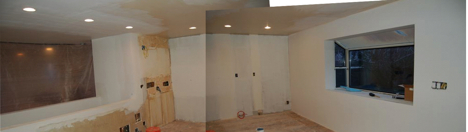
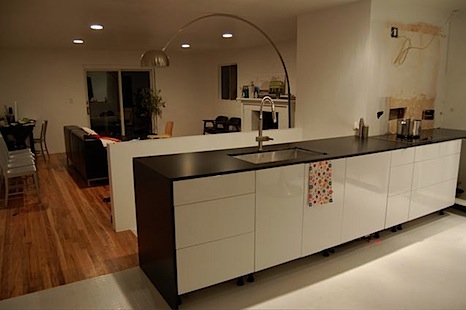
 While it may not look like much, our kitchen is coming along quite nicely. Those that follow me on
  One of the things that I am really excited to do in our new kitchen is install our
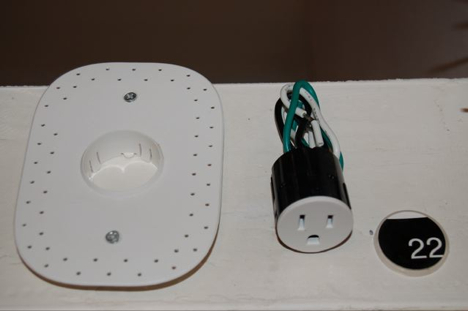
 We've been watching the classifieds for a while now to see if we could get any good deals on some of our kitchen appliances. We finally had some good luck the other day when we stumbled across this
  I never cease to be amazed at how much people will spend on their pets. While I admit that
 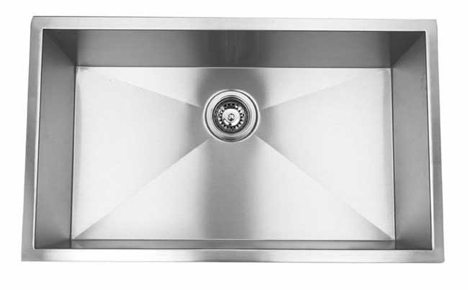 As we get closer to actually putting our kitchen back together, the accessories are starting to roll in. One of the first things that we bought for our new kitchen was a sink. In our old home we had a large single bowel kitchen sink that we loved. Since our little family is still growing, one of the criteria's for a kitchen sink for us is that it has to be large enough that we can give a baby a bath in it. Our new sink made by
  This whole week I am blogging over at