
So a few people asked about the clothes rack I made for the Evo Conference a few weeks ago. While it's a pretty straight forward project I figured I would do a little write up in case anyone else is interested. First and for most I should give a shout out to Patch Davis a used-to-be-local friend of mine. I first saw a very similar design in his shop 6 months ago, so credit goes to him. And now for the how to….
The basic idea is to get a large rustic beam and use it as a heavy base for a free standing clothes rack. You will need the following:
Wooden Beam
Black gas pipe
Drill
Drill bit
For this specific project I wanted to make two decent sized "cups" to hold T Pins for the real world Pinterest pin boards they had, so I used a hole saw and hammer and chisel for that part. It's totally optional, but it is a nice touch, and a good place to put some random items.
Probably the hardest part was sourcing the wood. This particular piece was approximately 8" x 14" and just under 4' long. You will probably have the best luck looking for something from an architectural salvage place, or if you are lucky a local saw mill. The rougher the better.
Once you have your wood, and it's cut down to length (I had to use a bow saw) all you need to do is drill holes for your gas pipe. I was aiming for around 54" of clear space so for the vertical pieces I bought one 10' piece of pipe and had Home Depot cut it in half. The horizontal bar was a pre-cut (and threaded) 36" pipe. I used two 90 degree angles to hook it all together. I think the pipe comes in 1/2" or 3/4". I like the look of the 3/4" better.
To drill the holes into the wood I bought a 1 1/8" flat bit. 1 1/16" would have been a tighter fit, but they didn't have it. Hook all your pipes together, measure the distance center line to center line, and then lay it out where you want it on the log. Drill the holes nice and deep, say 4" (or as long as the bit is) and then just slide the pipes in. Walla, you have a clothes rack.
As I mentioned above, there are some small touches that make it look a bit better. The "cups" I just used a 3" hole saw, then used a hammer and chisel to clean the holes up. I also mounted some scrap 3/4" wood I had laying around on the bottom of the beam. I set it back 3" or so from all the sides so you wouldn't see it. The result was a nice little shadow line all the way around the bottom.
Total cost? About $60 for the pipe and drill bit plus whatever you pay for the wood.
Questions? Comments?





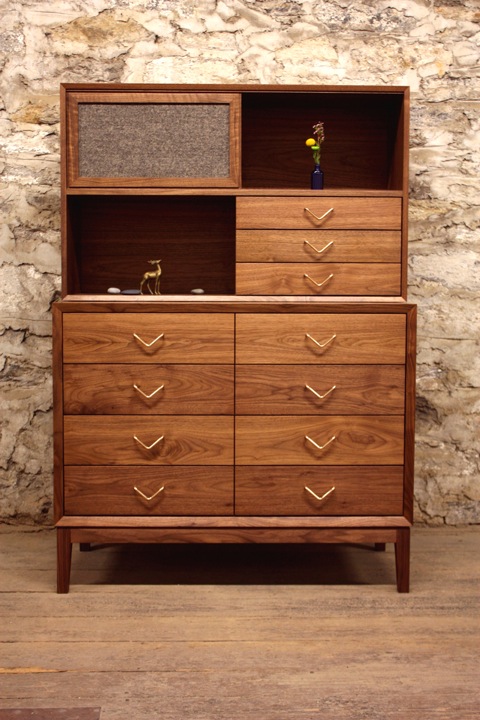 One of my favorite craftsman at


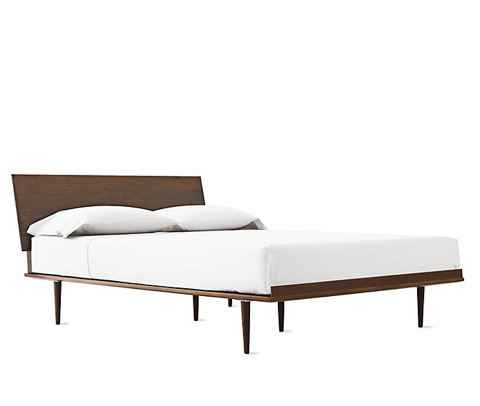
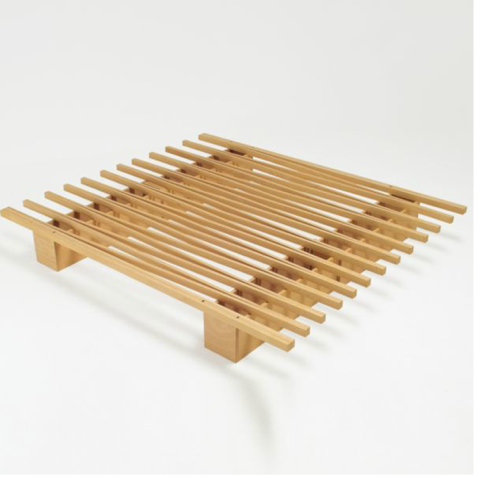 I am moving (again) and I'm in need of a new bed frame. I'm pretty set on making my own, so last night I sat down with my girlfriend and started looking for inspiration. I came across this brilliant design by German based


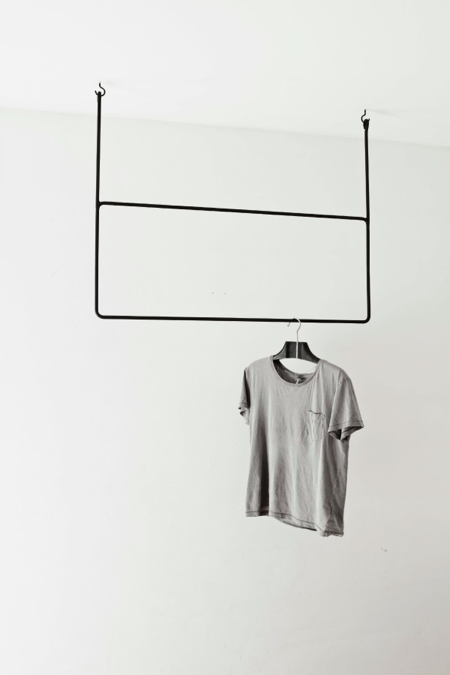 Coat rack designed by Anna Lee Nashem. Brilliant idea, and could be an easy DIY project. I've got plenty of black pipe laying around...
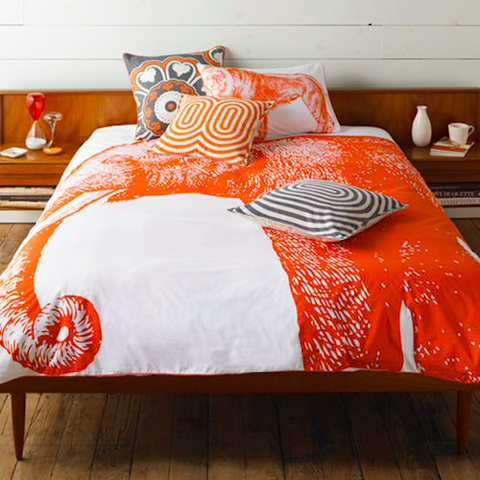 I always love
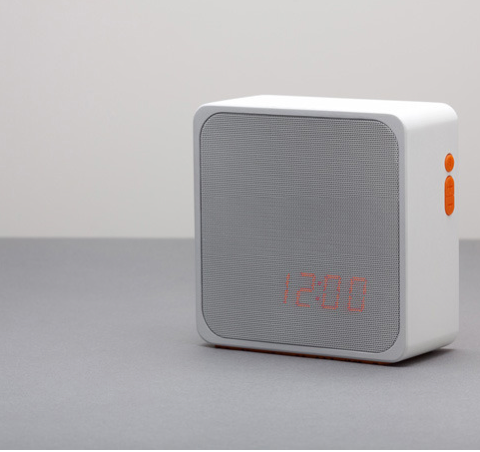


 Remember books? Those things with all the pieces of paper with words on them. Word on the street is that people are still reading them. I know I've spent a few nights reading in bed lately. For like minded bed readers, may I introduce you to
 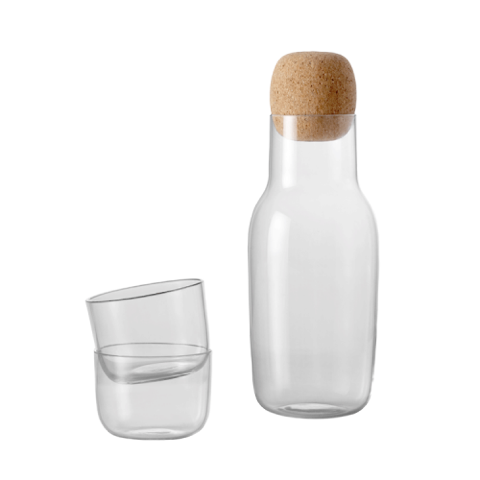 Just what you need to quench your bedside thirst without compromising your modern sensibilities.
 Sex toys are a topic that don't get a lot of attention on design blogs, and for good reason. Most of them are at best semi discrete, and at worst an embarrassment to look at. There is however one company that has stood out among the crowd in a good way for a while,


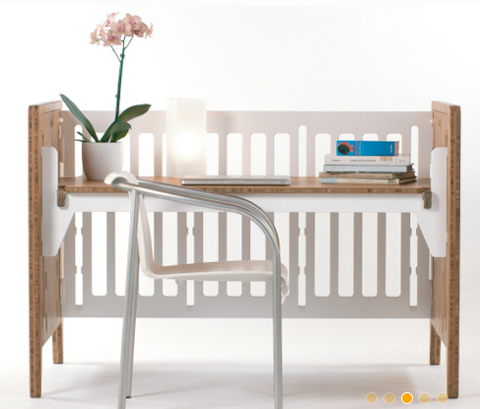
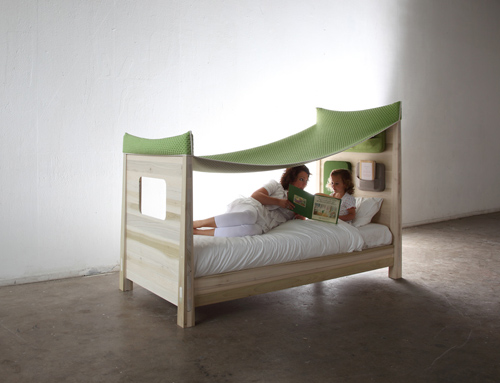
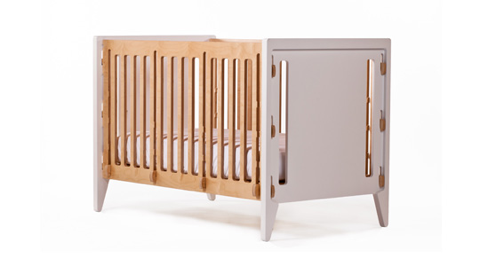
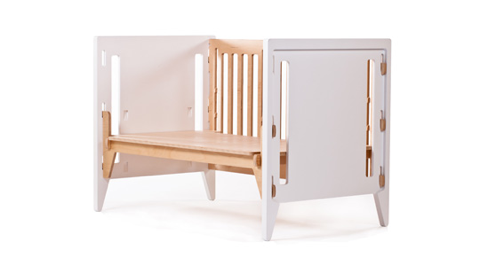
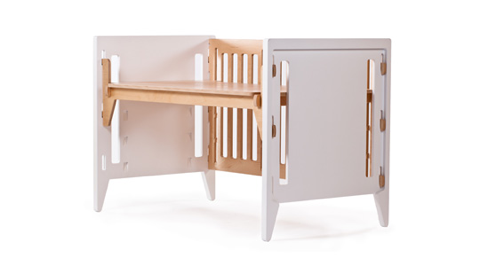
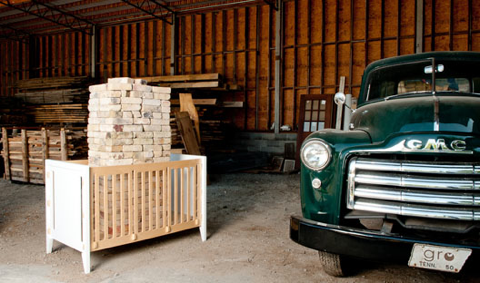
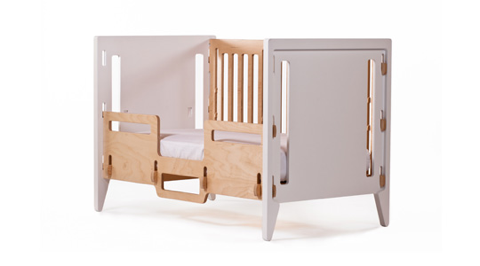 Buying furniture for little people can be a serious investment, and sometimes it's hard to justify dropping a large amount of cash for something that is only useful for a few years. That's why I love cribs that can serve multiple purposes, like this
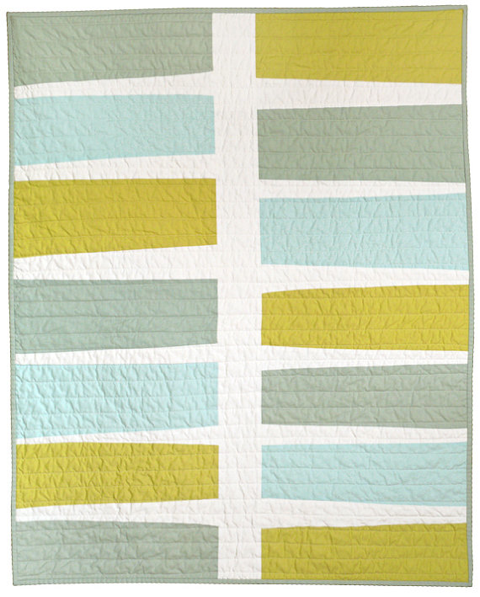 I've been moving GRM over to a new server today and it's been sort of a bumpy ride. Kinda makes me want to go home and curl up in a blanket and take a nap. Specifically this brilliant blanket by Barbara Perrino.
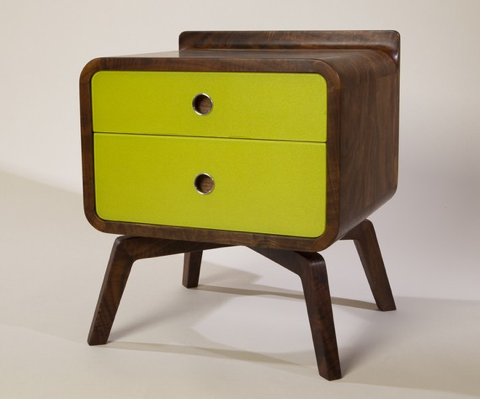 It seems like I have been featuring a lot of great handmade furniture coming out of Colorado recently. The most recent to catch my eye is David Rasmussen Design. Based out of Carbondale, Colorado David has an interesting mix of more traditional fine woodworking pieces like the Treehouse Stools shown above, to very modern Danish inspired pieces like the Curve A Linear chair and side table.
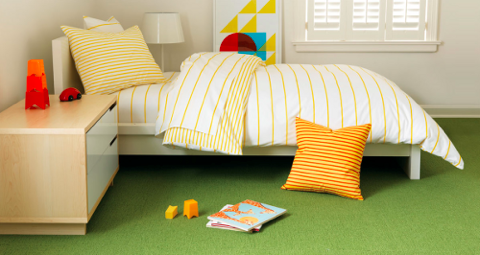 Unison just launched a new collection of bedding for babies and kids and we couldn't be more in love! The
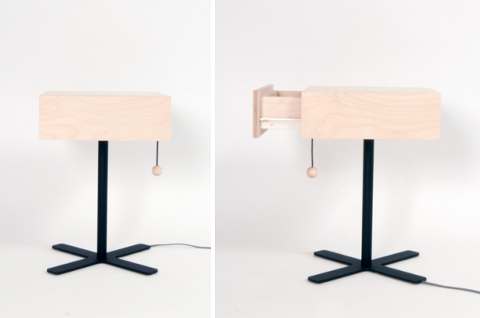 Natta (Norwegian slang for 'good night') is a bedside table with an integrated light hidden in the back. When turned on, the light reflects off the wall behind it, filling the room with soft, diffused light. Pretty brilliant I say! Available in two styles: a simple tabletop or a single drawer unit. Made of birch plywood.